3D Puzzle Design
|
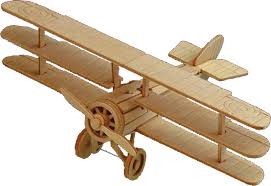
Students will create a 3D puzzle by creating each puzzle piece in Inventor and creating an assembly. Puzzle pieces will be cut using a laser engraver and assembled.
Standards:
Target Outcomes: Demonstrate how to create a 3D model using solid modeling software. Unit Topics: Visualization 3D modeling Orthographic and Isometric sketches Geometric Planes Vocabulary: Scale Measurement Orthographic Isometric Geometric Planes |
|
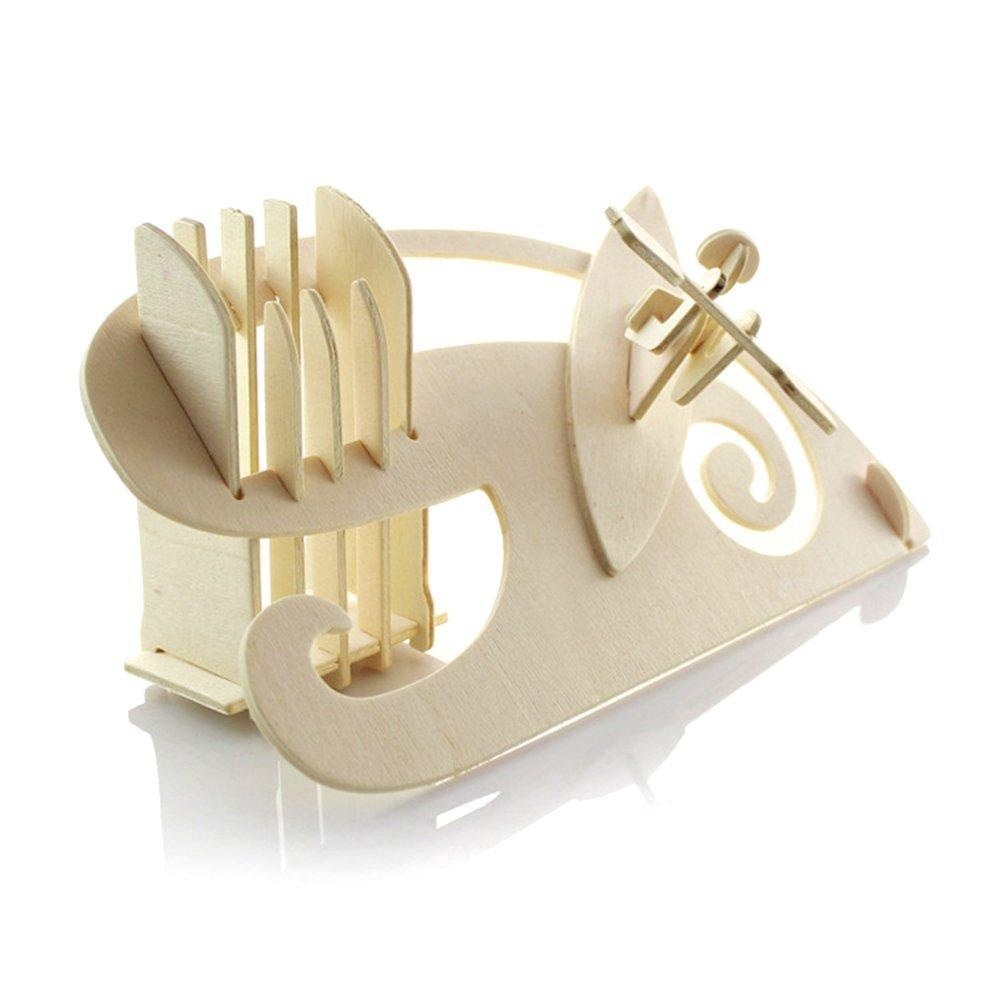
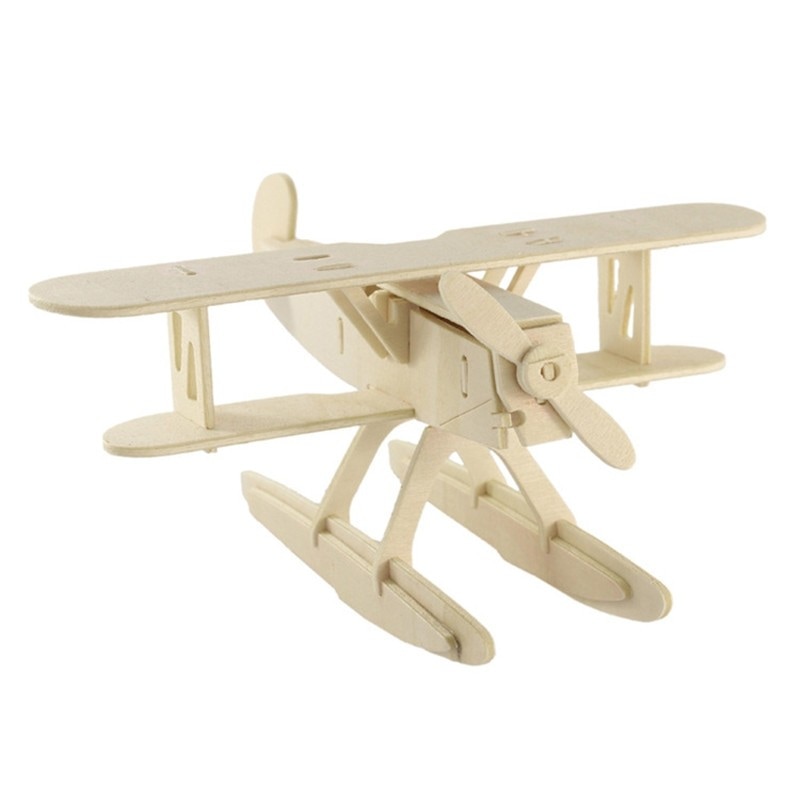

Design Task
Create a puzzle that contains between 10-15 different pieces. Complete each drawing using Inventor. Once your pieces are complete, create an assembly drawing.
Suggested steps:
- Your slots for pieces should be 3/16”.
- Your puzzle scale should be no larger than 5”x 5”.
Suggested steps:
- Research 3D puzzle design ideas. Pay attention to how parts notch together.
- Sketch you idea with basic measurements.
- Create a folder for your puzzle parts to be saved in on your onedrive.
- Draw each part in Inventor. Make sure you use dimensions. Remember slots should be 3/16" and the extrusion of the piece should be 3/16".
- Assembly your pieces in an Inventor assembly drawing to make sure everything fits correctly.
- DXF each individual peice. File save as dxf. in Inventor.
- Insert each dxf in Corel Draw. Arrange pieces in the small layout possible to get them ready to cut.